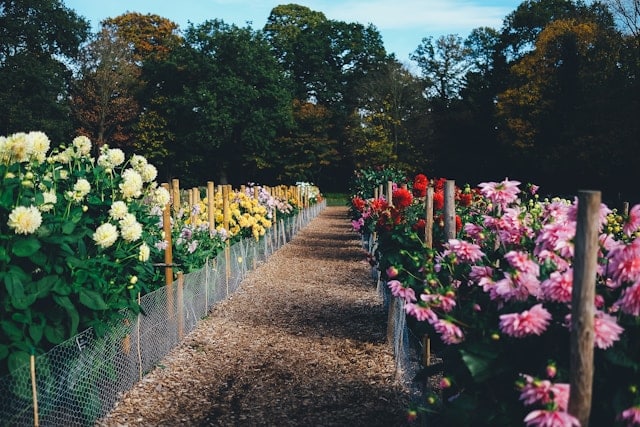
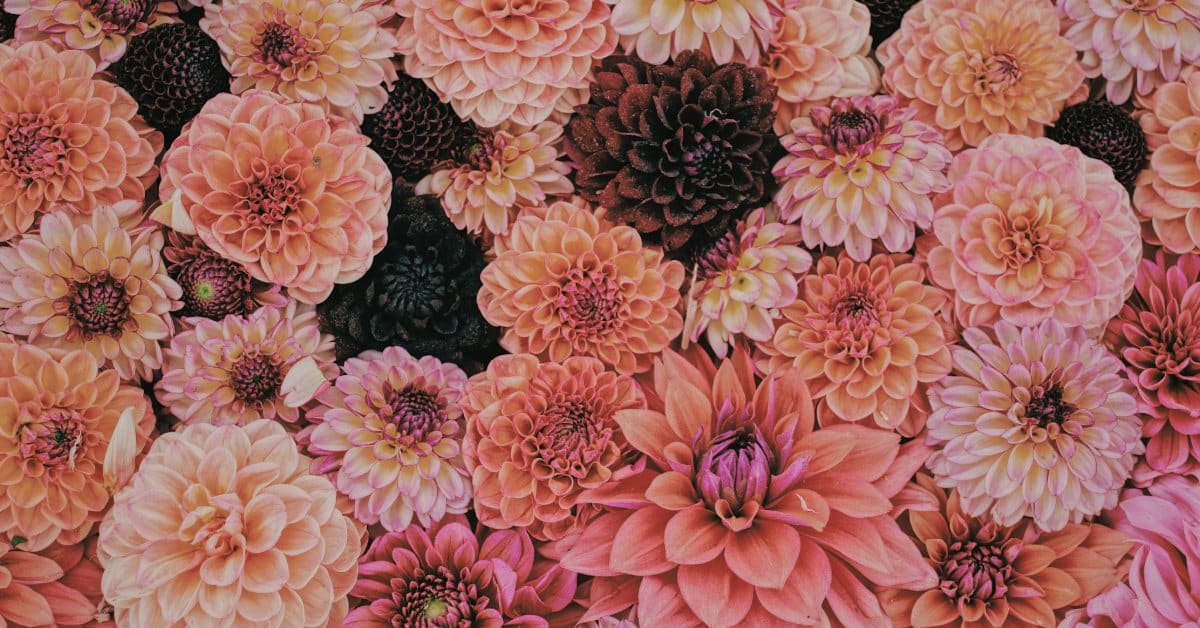
If you’ve ever scrolled through social media and found yourself mesmerised by stunning photos of dahlias in bloom, you’ll know exactly what I mean when I say they have a way of capturing your heart. Those lush, vibrant colours, perfectly symmetrical forms, and the sheer variety of shapes and sizes—who wouldn’t want a garden full of these beauties?
I remember the first time I came across a dahlia farm online. It was like discovering an entirely new world—a place where beauty reigned supreme. The lush rows of perfectly grown plants in full bloom were pure magic. I thought, I need to recreate this in my own garden.
Naturally, I started collecting tubers like a woman on a mission, scouring every online dahlia supplier, battling through the notorious dahlia wars, where top varieties sell out faster than you can click “Add to Cart.” It’s a serious business, but oh-so-worth-it when you see your first dahlia bloom in all its glory.
But here’s the thing: every grower who dreams of a sea of dahlias faces the same practical challenge. Beginning with just a handful of prized tubers, how do you turn that small collection into a spectacular cutting garden – without breaking the bank? That’s where dahlia propagation comes in.
You don’t need to spend a fortune buying new tubers every season (though let’s be honest, that can be tempting!). With a few tricks up your sleeve, you can multiply your collection and keep those dahlia blooms coming year after year.
Why Propagate Dahlias?
In New Zealand, dahlias have become a favourite for home gardeners and professional growers alike, thanks to their incredible variety and ability to thrive in our temperate climate. You’ll see them popping up in gardens from Northland to Southland—dahlias love our long, warm summers.
What makes them so special is their versatility. You can grow them in practically any garden, and they’ll reward you with bold, show-stopping flowers. If you have a small sunny patch, or even just some large pots or containers, you have enough room to start your dahlia collection.
Dahlia propagation is not just fun; it’s also incredibly satisfying. Imagine starting the season with just a few tubers, and by the end of summer, having a garden full of colour—and best of all, you won’t have to buy new tubers every year. It’s like planting money in the ground.

Method 1: Dividing Dahlia Tubers
Let’s start with the most common and straightforward method of dahlia propagation —dividing the tubers. This is the method most gardeners use, and for good reason. It’s easy, it works, and you’ll quickly see your small collection grow.
Why Divide Tubers?
When you dig up your dahlia tubers at the end of the season (I usually do this after the first frost kills the tops), you’ll notice that they’ve multiplied underground. Each tuber can be divided from the clump and will grow into a new plant, provided it has at least one “eye”. This is how you take one tuber and turn it into several. Even as a new grower in your first season, you may be lucky enough to receive a small clump from a friend or supplier that can be divided.
How to Divide Dahlias
Wait for the Right Time: Don’t rush to dig up your dahlias too early. Wait until after the frost has killed the top growth—usually in late autumn or early winter. Ensure the soil is a little dry so it’s easier to handle the tubers.
Clean and Inspect: Carefully dig up the clump of tubers, being gentle so you don’t damage any. Shake off the excess soil and inspect the tubers. Look for the “eyes” or growing points (these are usually tiny, plump buds).
Divide: Using a clean, sharp knife, carefully separate the tubers, ensuring that each has a neck and at least one good “eye”. Each division must have a tuber (the swollen part), a neck, and an eye to grow into a new plant.
Let Them Dry: Place the divided tubers in a cool, dry spot for a few days to allow them to cure. This helps prevent rot and prepares them for storage.
Storage: Once dried, store your divided tubers in a cool, dark place. Do not expose them to too much moisture, as they may rot. If you can, store them in crates or cardboard boxes in peat moss, wood shavings, or sawdust to keep them safe until planting time.
Tips for Success:
- Always use a sharp, clean knife to avoid damaging the tubers.
- Ensure each division has at least one healthy eye to ensure successful growth.
- Don’t rush—dividing your tubers properly will pay off with more plants in the spring!
Method 2: Taking Dahlia Cuttings
For a bit more of a challenge (but still very achievable for beginners), taking dahlia cuttings is another fantastic method of dahlia propagation. This method allows you to create new plants from the “mother” plant while ensuring you get genetically identical offspring. It’s a great option if you want to preserve the exact characteristics of a particular variety or want a backup plant or two ‘just in case.’
Why Take Cuttings?
Taking cuttings is a fast way to create many new plants from one tuber. Because you’re working with the same plant material, the flowers will look identical to the parent plant. This method is especially popular for those who are looking to expand their dahlia farm or garden without having to buy new tubers every season.
How to Take Dahlia Cuttings
Start in Spring: This is typically done in early spring when the dahlia tubers begin to sprout. You’ll need to start by allowing your tubers to sprout indoors or in a warm, sheltered space.
Cut the Shoots: Once your tuber has sprouted, look for strong, healthy shoots around 10–15 cm tall. Cut the shoot just above the base using a sharp, sterile knife.
Prepare the Cutting: Remove any leaves from the lower part of the cutting, leaving a few leaves at the top. Dip the end of the cutting in rooting hormone (optional, but helpful for quicker rooting).
Pot Up the Cuttings: Place the cutting in a small pot filled with well-draining potting or seed-raising mix.
Keep Them Warm and Moist: Keep the cutting in a warm, bright location (but out of direct sunlight), and mist it regularly to maintain humidity. Within a few weeks, it should develop roots, and you can transplant the cutting to a larger pot to grow on before transferring it to the garden.
Tips for Success:
- Cuttings should be taken from healthy plants that are free of disease.
- Ensure the cuttings are kept warm and humid to encourage root development.
- Sterilise your cutting tool between plants
- Patience is key—give your cuttings plenty of time to establish roots before planting them out.
Method 3: Harvesting Dahlia Seeds
While not technically dahlia propagation, harvesting and growing seed is a fantastic way to grow your collection. But harvesting dahlia seeds isn’t just about growing more flowers—it’s about creating something unique. When you grow dahlias from seed, every plant is a surprise. Unlike dividing tubers or taking cuttings, each seed-grown dahlia is genetically unique and produces different flowers from its parent plant.
It’s like having your own little breeding project where you get to discover new colours, forms, and patterns. Who knows, you might even stumble upon a variety so stunning that you’ll want to name it yourself! If you’re feeling adventurous and want to add a dash of mystery to your garden, this method is for you.
Why Harvest Dahlia Seeds?
Collecting seeds is an exciting option if you’re keen on exploring new dahlia varieties or want to save money on tubers. The only catch is that you won’t know precisely what you’ll get – but that’s part of the fun.
How to Harvest Dahlia Seeds
Allow Flowers to Go to Seed: At the end of the season, let your dahlias go to seed by allowing the blooms to naturally fade and develop seed heads. You’ll know the seeds are ready when the seed pods turn brown and dry out.
Collect the Seeds: Once the pods have dried, carefully remove the seeds. Store them in an envelope in a cool, dry place until you’re ready to plant.
Plant in Spring: Sow your seeds indoors or in a warm, sheltered spot in early spring. Keep the soil moist and warm, and within a few weeks, your dahlia seedlings will emerge.
Tips for Success:
- Seed-grown dahlias may not be true to type, so don’t expect the same bloom as the parent.
- Keep an eye on your dahlias and be patient—getting blooms from seed can take a bit longer.
Tools You’ll Need
You don’t need a lot of fancy equipment to start propagating your dahlias. Here’s a quick rundown of what you’ll need:
- Sharp Knife or Secateurs: For dividing tubers or taking cuttings.
- Rooting Hormone (optional): Helps encourage healthy root growth in cuttings.
- Well-Draining Potting or Seed-raising Mix: For potting up cuttings or growing seedlings.
- Containers: Small pots or trays for cuttings or seedlings.
- Misting Bottle: To keep cuttings moist and humid.
- Storage Boxes: To keep your tubers safe over winter.
Final Thoughts: Dahlia Propagation
Dahlia propagation is one of the most rewarding things you can do as a gardener. You can quickly turn a small collection into a full-blown floral display with a bit of care and attention. Whether dividing tubers, taking cuttings, or harvesting seeds, you’ll feel the thrill of watching your garden bloom in all its dahlia glory.
Remember, it’s not about being perfect—it’s about having fun and enjoying the process. If things don’t go exactly as planned, don’t worry! I’ve been there too. Every mistake is just a stepping stone toward becoming a better grower. The rewards are well worth it, and there’s nothing like watching a garden full of dahlias stretch out before you, each bloom more stunning than the last. So, grab those tubers, get your hands dirty, and let’s grow some dahlias! Here’s to a summer of endless blooms.
